Photoshop2020


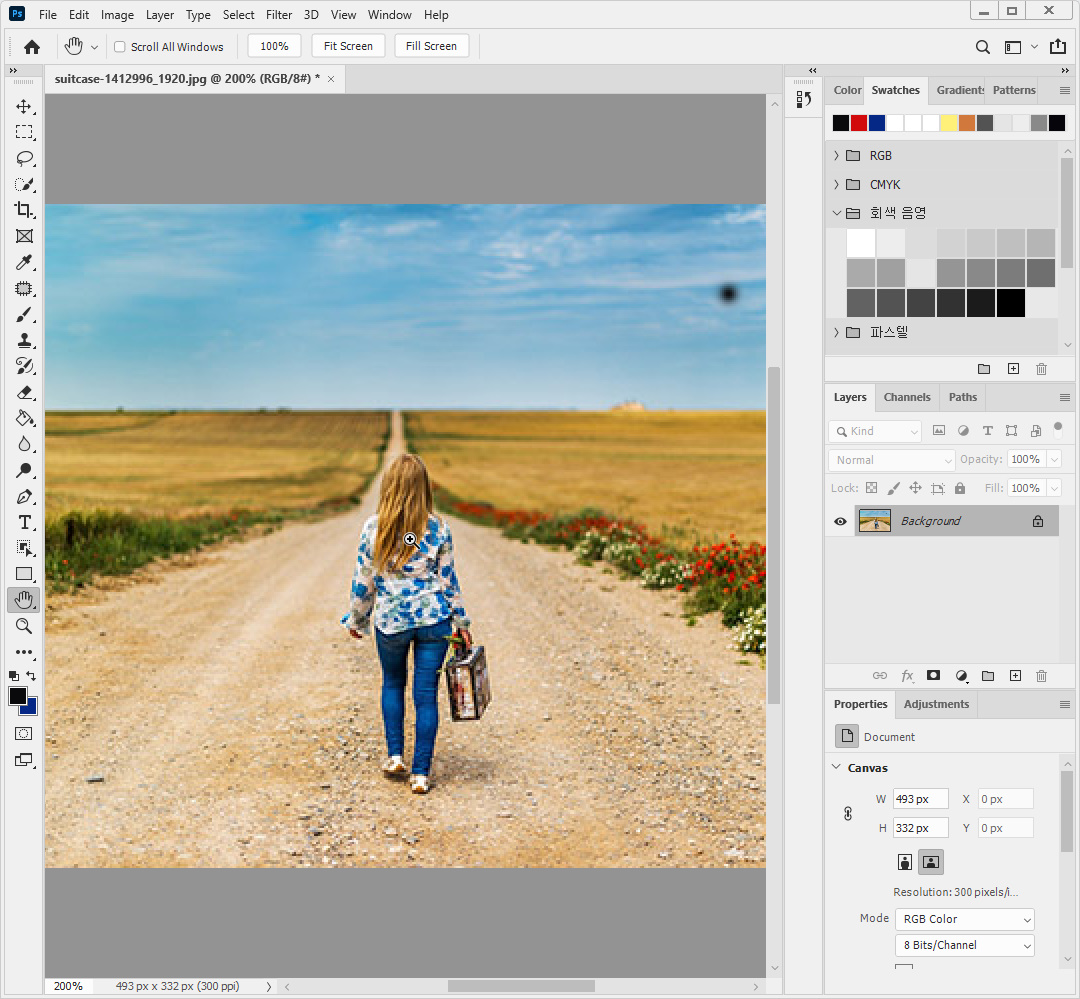
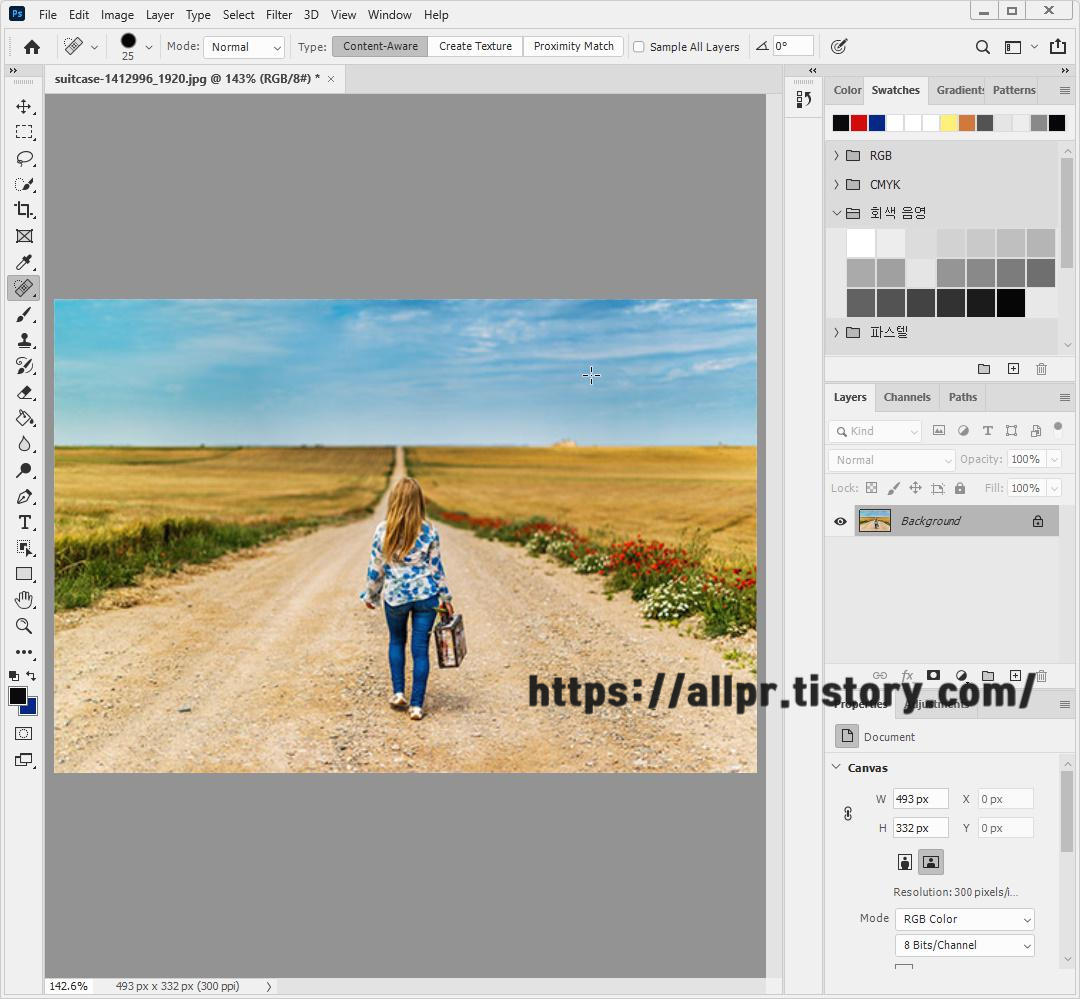
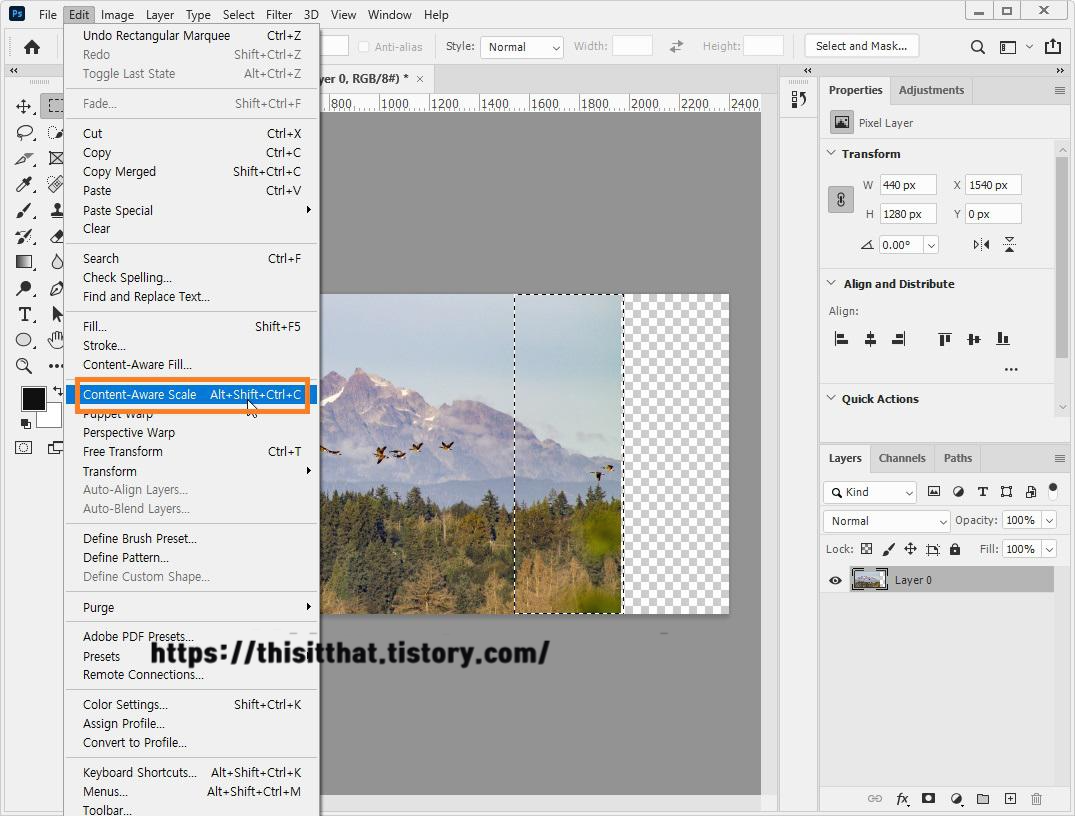
Sometimes you need to work at a different rate than the original rate. In this case, the content aware scale function allows you to increase the number of photos relatively more naturally than when using the free transform function


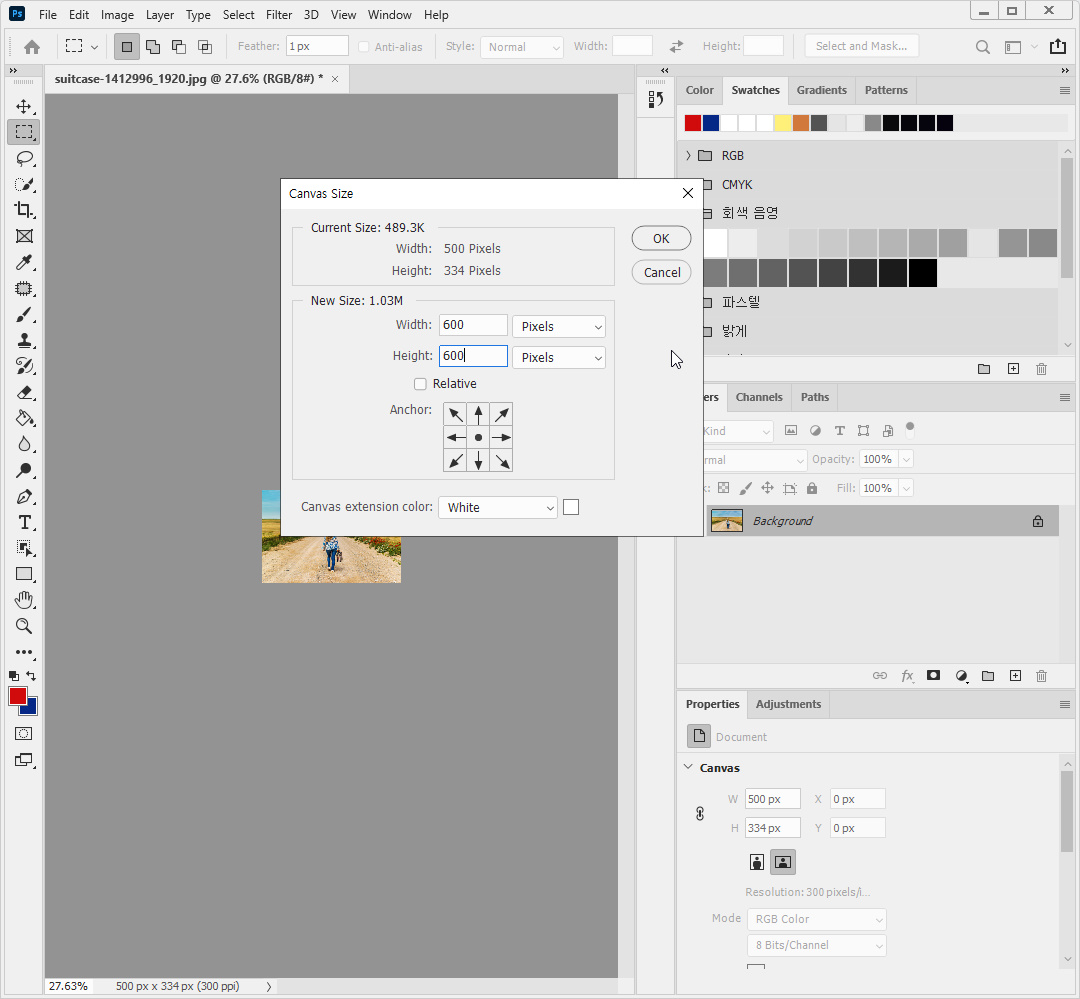
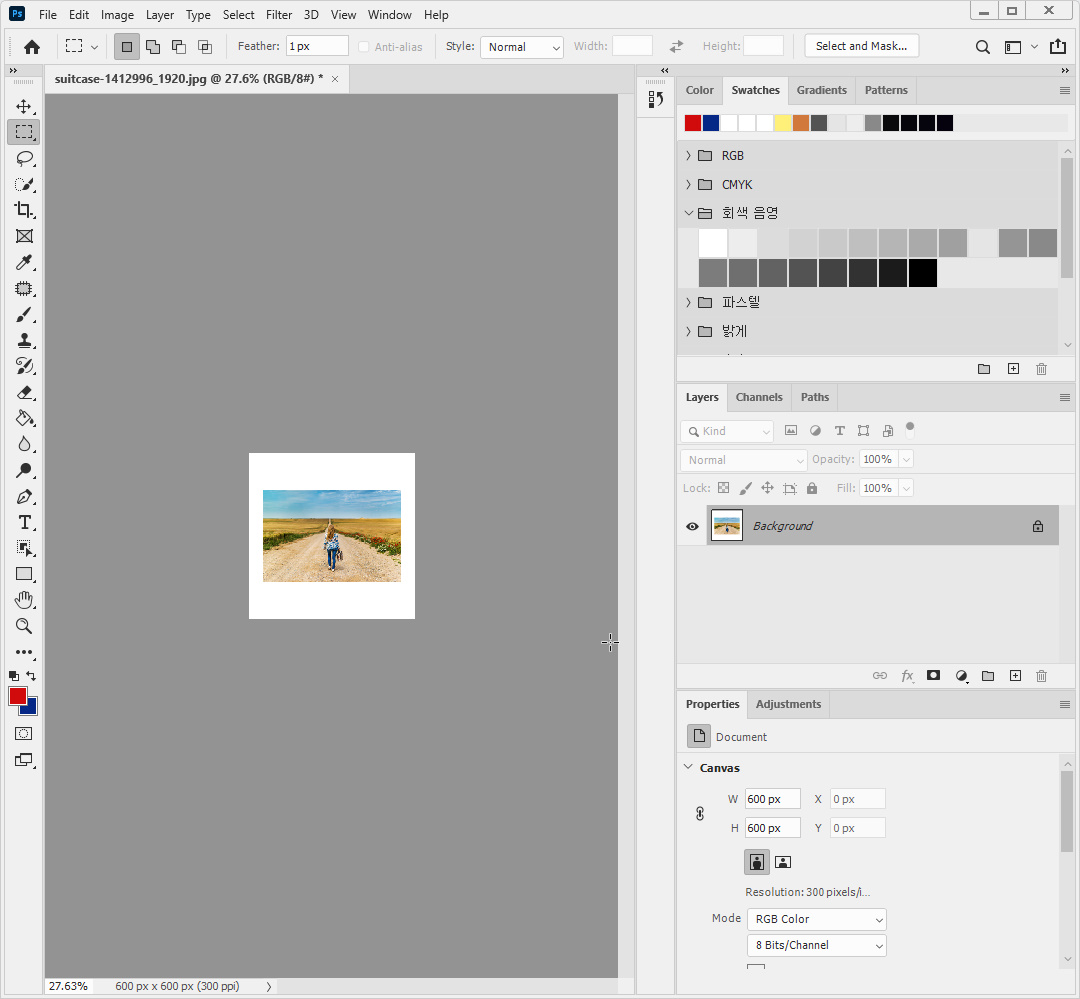
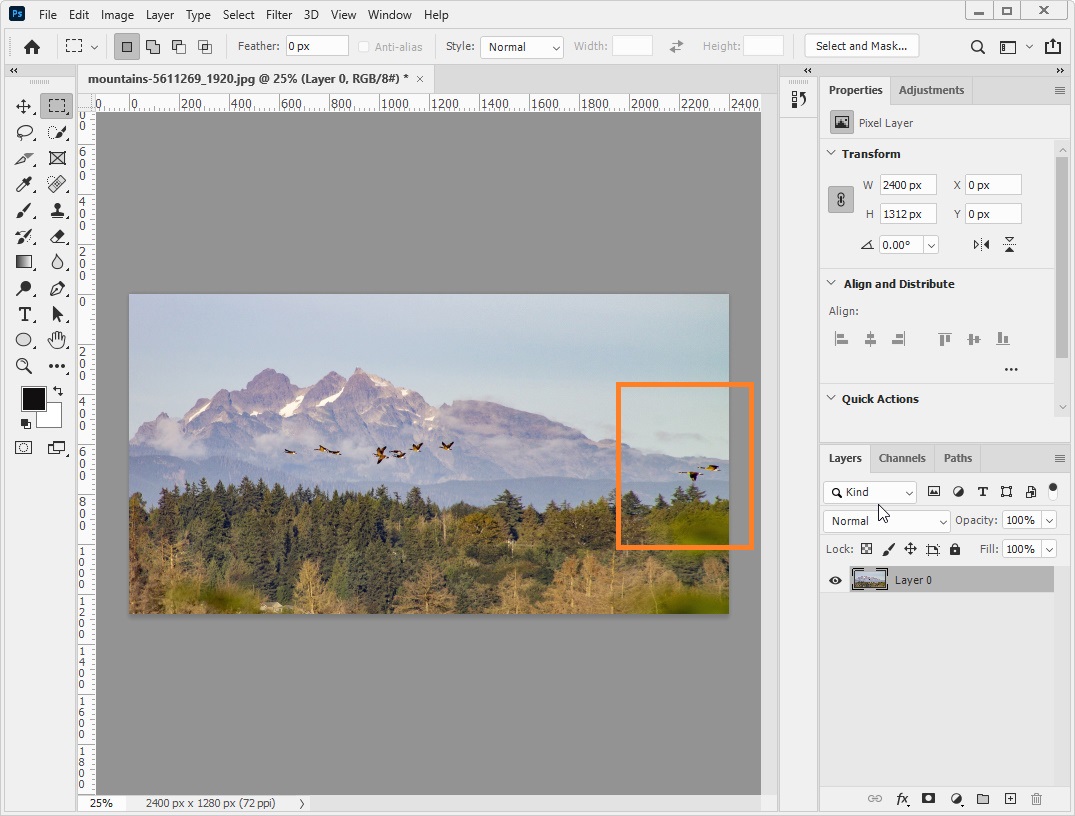
Set up the selection area and used the free transform function and the content aware scale function.


1. free transform

free transform
free transform

2. Shift + click&drag

free transform
free transform

4. content aware scale

content aware scale
content aware scale

Comparison

free transform  function
content aware scale

That's it. Like and comments are encouraging. I'll see you later.

1. File -> New, Ctrl + N. Create a task panel after setting to 200pixel Width and 200pixel Height.  

polka dots pattern


2. Select an ellipse tool in the Tools panel and click the task panel. When the Create Ellipse window opens, set to 50 Width and 50Height .(Fill #000000, Stroke : no color)

polka dots pattern

3. It's easy to deploy with a guide line.(View -> show -> Smart Guides)

Select the Go To tool and click and drag the circle in the task pane. Center the canvas while viewing the automatically displayed guide line. 


polka dots pattern


4. Press Alt and click & drag to clone and place 1/4 of the edges visible. Place circles on all remaining corners in the same way.

polka dots pattern


5. To create only the polka dot pattern without a background, click the eye icon in the layer to drag the background.

Then select Edit -> Define Pattern. Save as polka dots

polka dots pattern


6. Using Pattern

File -> New, Ctrl + N. Create a task panel after setting to 1920pixel Width and 1080pixel Height.  

polka dots pattern


7. In the Layers panel, add a new layer and select Edit->Fill. Contents->pattern, Custom pattern select the pattern you saved.

polka dots pattern
polka dots pattern
polka dots pattern


8. Layer style -> color overlay

polka dots pattern

9. Layer Style -> Grdient Overlay

polka dots pattern

That's it. Like and comments are encouraging. I'll see you later.

1. Importing an image file

File -> open or Ctrl + O 

Importing an image file

2. Image Size 

Image -> Image Size. Reduce the size of the image to 500 pixels.

Image Size

3. Canvas Size

Image -> Canvas Size. Increase the canvas size to 600 pixels. The image has a margin.

Canvas Size


4. Zoom tool

Double-click the magnifying zoom tool. The percentage of views on the job screen is set to 100%.


Zoom tool


5. Crop tool

(1) Click Crop Tool to cut out unnecessary parts of the image. (2) Drag the corner of the rectangle to specify the part you want to leave behind, and (3) press "enter" to clear the unselected area.

Crop tool


6. Hand tool

The image shows a fine stain (1) Double-click ctrl + [+] to zoom in to your work screen. (2) Click the hand tool and drag the image to the spot where it is visible to move the screen.


Shrink work screen Ctrl + [-], Fit to Screen Ctrl + [0]

Hand tool


7. Spot Healing Brush tool 

Spot Healing Brush tool and press "[", "]" to resize the brush and resize the brush to match the stains.
Click the stain to clean it up.

Spot Healing Brush tool


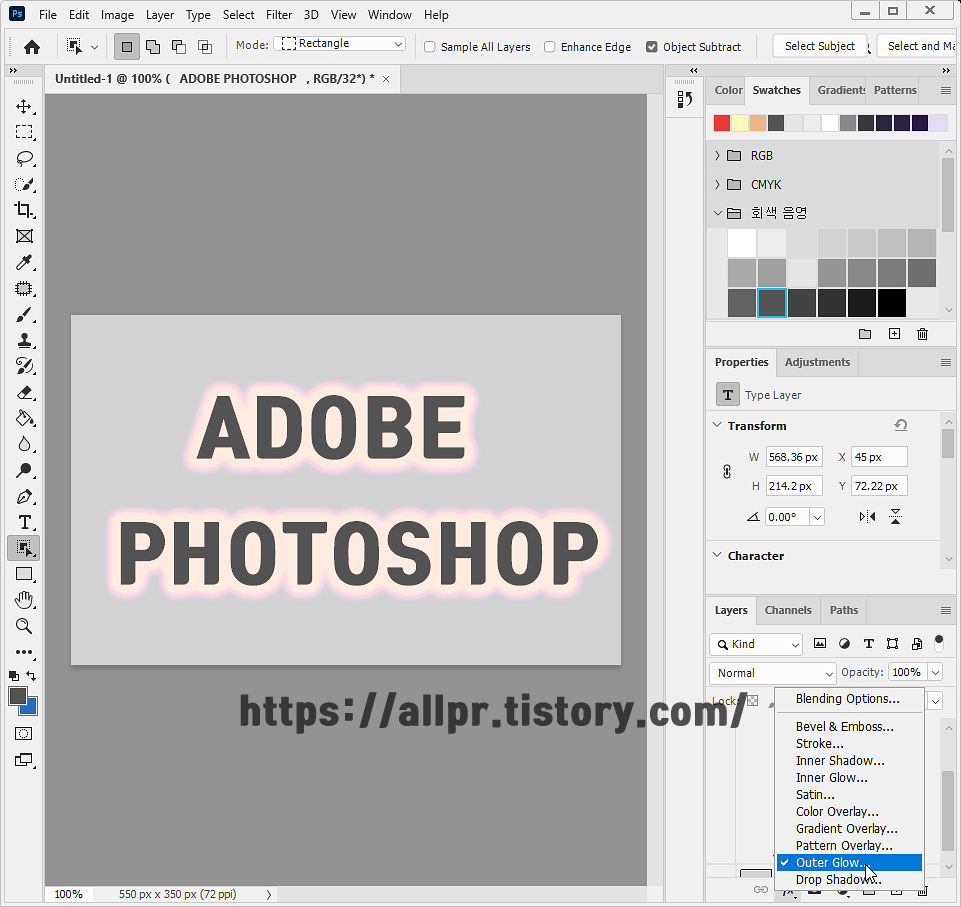
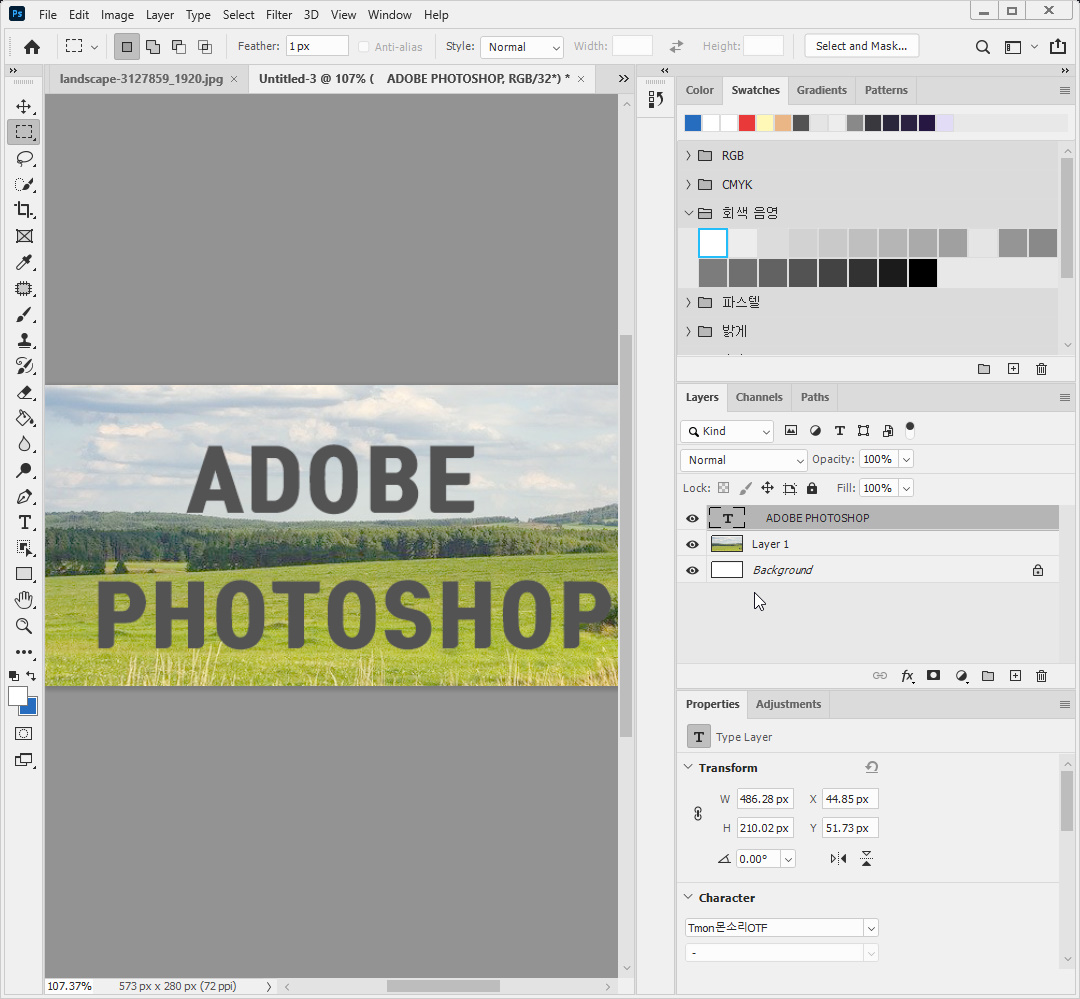
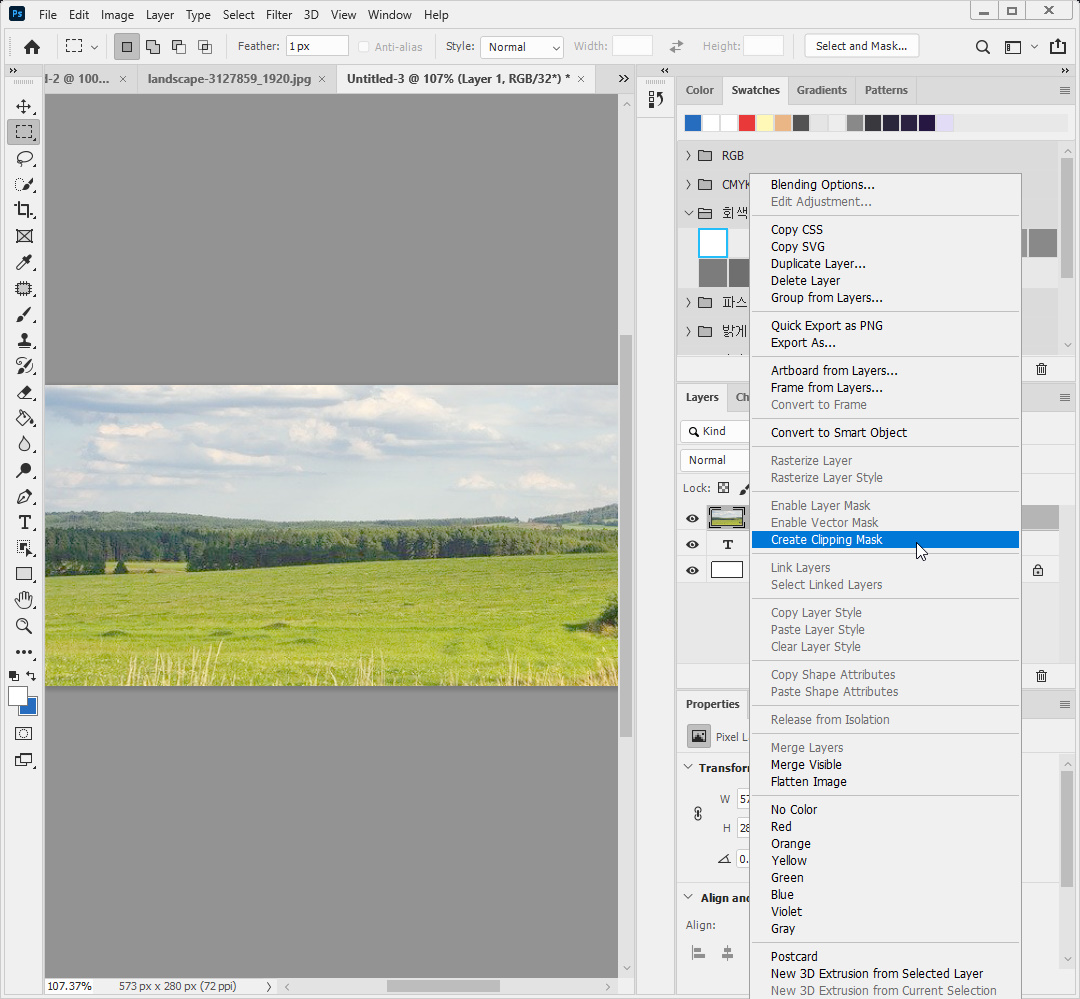
How to apply a layer style and clipping mask

Layer Style

1. Bevel & Emboss - Add dimensionality, thickness, and gloss to the layer. Adds a color length size angle.

2. Stoke - Add borders to layers

3. Inner Shadow - Add a shadow inside the layer.

4. Inner Glow - Adds a light effect inside the layer

5. Satin - Adds a metallic luster

6. Color Overlay - Apply solid color to layers

7. Gradient Overlay - Add a gradient to the layer

8. Pattern Overlay - Adds a pattern to the layer

9. Outer Glow - Adds a light-spreading effect to the outer layer

10. Drop Shadow - Adds a shadow effect to the layer


Clipping Mask

The clipping mask requires a mask layer and an image layer, respectively. It can be applied to shapes or characters with the ability to place the desired image within a specified area.


Make sure that the layer where the text is entered is below, and that the image layer is above.


When you right-click the image layer above and select Create Clip Mask, the image appears only in the text area.


That's it. Thank you.

+ Recent posts